You’re in the zone.
Ideas are flowing and productivity’s peaking. All you want is to extend your game – to play a little longer in that rarified state. The last thing you want is to break focus by switching apps, migrating files, or adjusting to a new interface.
That’s why our users have been urging us to extend the capabilities of Moqups. They want to stay within the creative context of our platform, from the earliest stages of ideation, through to the final steps of prototyping and presentation.
Last year, to help make that workflow possible, we introduced Diagramming. We made it easier to capture concepts, structure ideas, and clarify communication throughout the entire design process.
Now, we are focused on expanding our prototyping capability. We’ve made it simpler and quicker to simulate user interactions – so that you can focus on productive work, not on time-consuming workarounds.
Interactions Panel
The first change you’ll notice is the new Interactions Panel. It consolidates Hotspots and Interactions and is the future home for all new prototyping functionality.
To open the Interactions Panel, click the Interactions Tab at the top of the right sidebar.
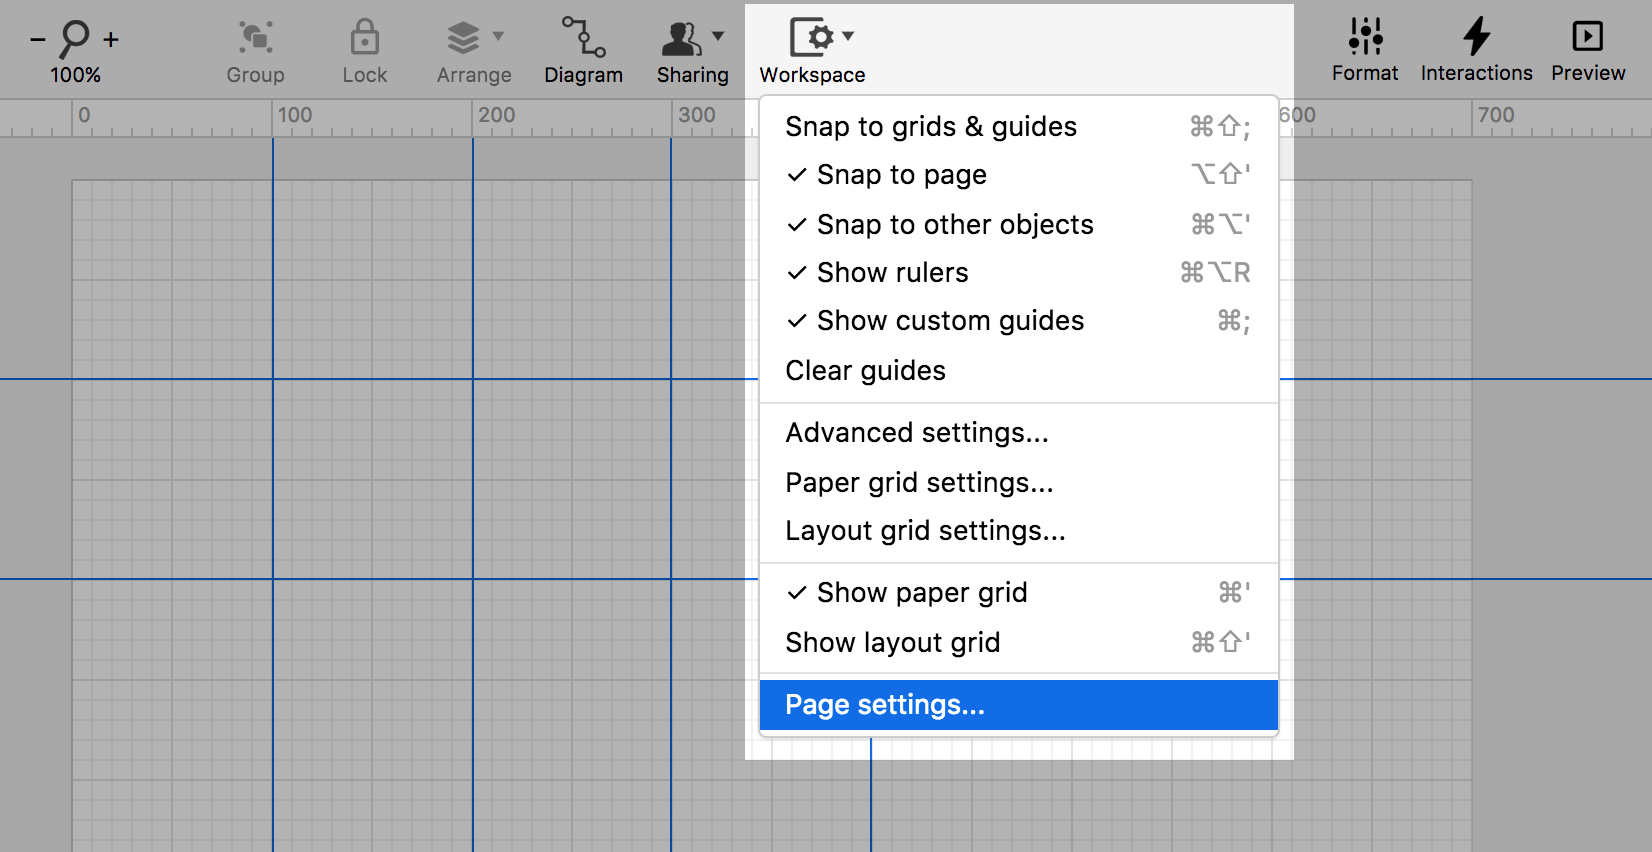
Workspace settings have also been unified under a single menu. Just click on the Workspace button, in the top toolbar, to toggle rulers, guides, and snapping – and to configure page settings such as size and background color.
Object Interactions
The big news is that we’ve gone well beyond simple page interactions by adding a whole new suite of object interactions.
If you want to simulate user navigation, then Page interactions are the perfect tool. But if you need to prototype the behavior of specific UI elements – in response to various triggers – then page interactions are insufficient to the task.
Previously, you had to create an individual page for every single stage of the interaction’s state – and then use page interactions to link those multiple pages together.
Now, you can work on a single page, and add multiple interactions to a single object – or even groups of objects.
Because you no longer have to jump back and forth between pages, your workflow gets simpler and faster. And, without multiple pages for each interaction, your page tree becomes cleaner and easier to scan.
With these new capabilities, you can Show, Hide, Toggle Visibility, and Scroll to Objects in response to specific events: Click or Tap, Double-Click, Right-Click, Mouse Over and Mouse Out.
This makes it easy to simulate all kinds of interactions, including:
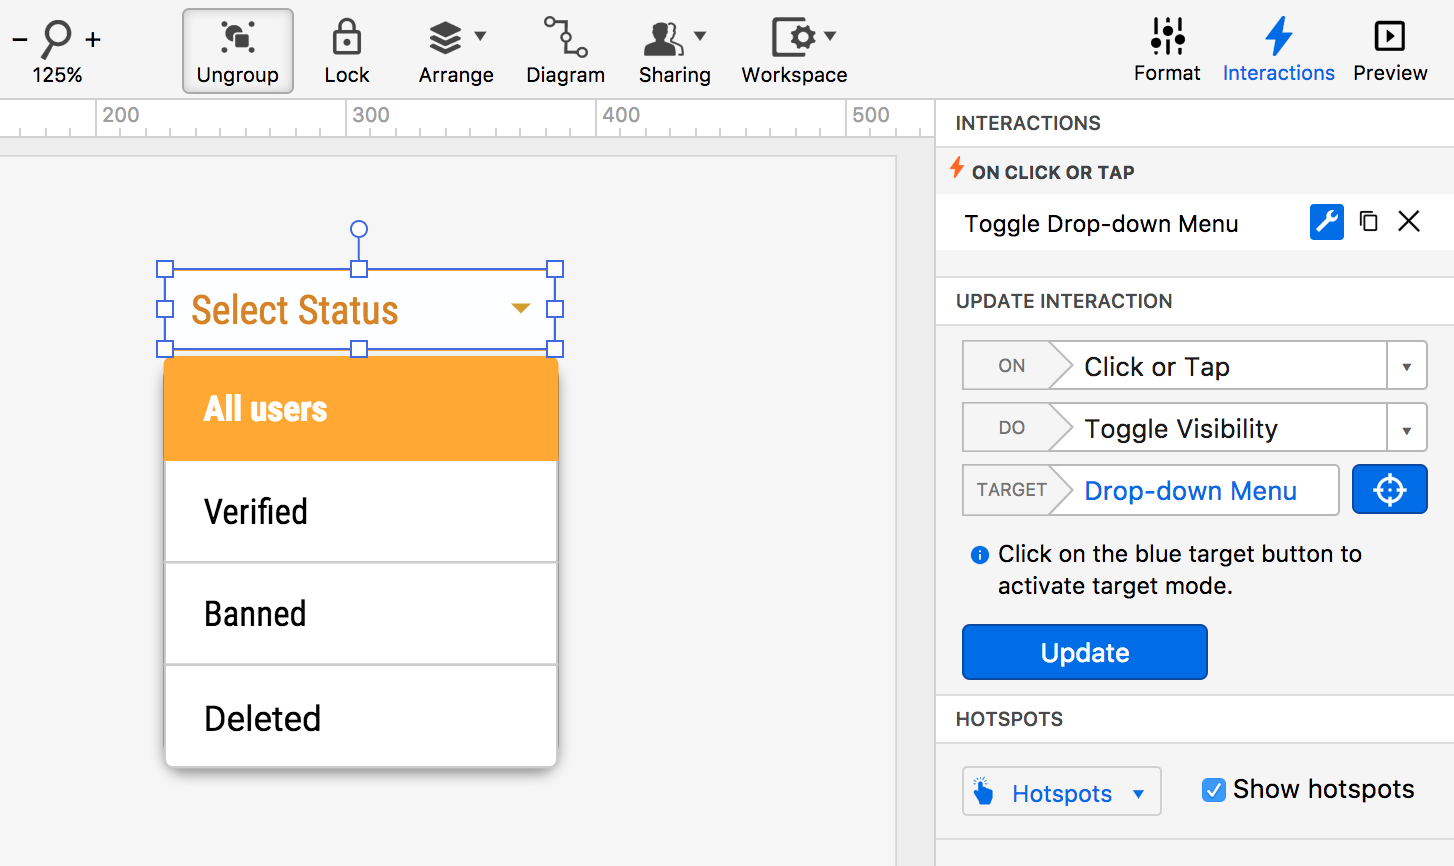
- Drop down menus
- Opening and closing a window or modal dialog in response to a button click
- Showing a context menu on right click
- Scrolling to a particular area, or element, on the click of a navigation link
- A radio, checkbox or switch control that can be toggled
To add an object interaction:
- Click the Interactions Tab to open the panel
- Go to the Add Interaction section
- Select the object or group to which you want to add the interaction
- Choose a trigger from the ON drop-down
- In the DO drop-down, select an action from the Object Interactions list
- Click the Target button to turn on Target Selection Mode
- To select your target, click any object or group, either on the Page or in the Outline Panel
- Click Done to apply the interaction
Once you’ve applied an interaction, it shows in the Interactions list at the top of the panel. As you add additional interactions to the same object, you’ll see them listed there as well. You can easily edit or delete any interaction from the list – or duplicate it for quick reuse.
Note: You can toggle the visibility of your target on and off within the Outline Panel. This is useful if you want that target-object’s initial state to be invisible.
The addition of object interactions means that experienced users can prototype further and faster in Moqups. And those who are new to prototyping will discover a process that is both accessible and intuitive.
And we’re upping our own game too. Upcoming releases will focus on expanding our prototyping functionality, and improving the experience on mobile devices. That’s our next target!