We haven’t posted for a while now, but that doesn’t mean we haven’t been hard at work behind the scenes. For several months, we’ve been working on foundational changes to our code that will help us become more nimble, release features more frequently, and respond faster to user requests and suggestions. And it’s already happening.
Over the past few months, we’ve rolled out a bunch of new features that make it easier to navigate, edit, and export with Moqups.
Navigation Improvements
There are two big changes to Pages: Pinned Pages and Page Thumbnails. Both are a response to user feedback, our own dogfooding, and the pressing need to navigate more quickly and efficiently.
Pinned Pages
We found that, when working on a project with dozens – or even hundreds – of pages, skipping back and forth between relevant pages was a navigation nightmare. It was even more of an issue when working, live, with remote collaborators. How could you direct – and redirect them – to current and relevant work?
Pinned pages solves that problem by allowing you to pin your most active pages to the top of the Pages Panel. This speeds up your workflow, makes real-time collaboration seamless, and helps keep your entire team focused.
To pin a page, hover over any page-name in the Page Tree of your Pages Panel. Then, click the Pin icon. Once you pin a page, it will stay on the list of pinned pages until you unpin it.
Page Thumbnails
Another way we’ve made navigation easier is by adding live thumbnails to the Pages Panel. Now, when you hover over a page-name, a thumbnail will pop up – so you can quickly preview the page without having to click. But, if thumbnails aren’t your style, then you can simply turn them off in Workspace > Advanced Settings.
Editing Improvements
Smart Shapes Just Got Smarter
Magicians like to say that “the hand is quicker than the eye.” But in design, it’s often the other way around. Your instinct tells you – right away – what works and what doesn’t. It’s your hand that has to catch up. And whether you are iterating for yourself, or working live with a client, it’s important to keep your creative flow moving at the speed of thought!
That’s why we’ve added Custom Handles to our Polygon, Star, Callout, Triangle, Arrow and Wedge stencils. Custom Handles let you get the exact shape you need – without ever taking your hand off the mouse. Just click on the tiny blue dot, and drag – in a variety of directions – to quickly and intuitively change the properties of the shape. It works like magic!
Now, you can make beautiful shapes in seconds – without the need for sliders, complicated bezier curves, or complex drawing tools. Just click, drag, and create!
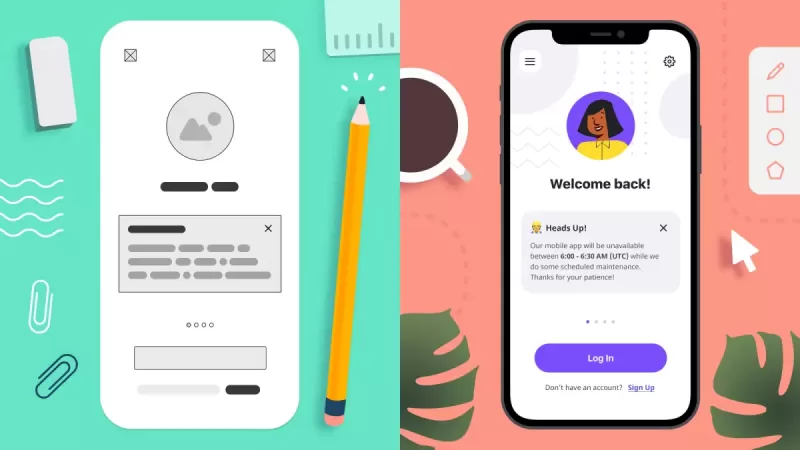
Of particular note is the new Callout stencil. Callouts are great for creating tooltips, popovers menus – and they are vital for annotating ongoing designs. The new Custom Handles make them much more flexible. Now, you can quickly expand the width of a Callout’s tail, and then drag it to any length and in any direction.
To try out the new Callout – and the rest of our smarter shapes – go to the Shapes category of the Stencils library. You’ll also find that Custom Handles have been added to Images, and to all kinds of Common Stencils as well; in these cases, the handles let you create Rounded Corners with a simple click and drag.
Replace Colors on the Page or Project
You can now recolor objects on your current page, or across your entire project. To replace a color, deselect all objects by clicking into blank space (or outside the page margins).
This will open up the Replace Colors section of the Format Panel in the Right Sidebar. Here you can choose to replace colors for your Entire Project, or just the Current Page. You can choose from a list of your project’s most recently used colors, or just double-click on any of them to open the Color Picker. For custom, granular control, you can choose to replace Fills, Strokes, or Text colors separately, or in any combination.
Improved SVG Support
We’ve vastly improved our support for SVG images. Although we’ve unofficially supported SVG import for a while now, the experience has been suboptimal because of some technical challenges that are specific to the SVG format itself.
Since the SVG format supports the referencing of external resources from other websites – like images, fonts, CSS or custom JavaScript code – SVGs can create security and compatibility issues.
With our improved SVG support, we’ve solved these issues by adding a sanitization and cleanup process in the background. This way, we can ensure that uploading SVGs won’t crash your project, slow down your browser, or cause any unwanted side effects.
And we’re not done improving our SVG support. In future releases, we’ll add the ability to customize uploaded SVGs by changing their colors – or even editing their structure.
Improved Image Cropping
Our Crop feature allows you to double click on any image and, non destructively, crop it to a new size or aspect ratio. But now, Crop just got even better. We’ve enhanced its functionality so that, after you click to adjust the frame of the crop, you can click down anywhere within that frame, and move the image around within that window. That way, you can experiment with different framings before deciding to apply the crop (by clicking outside the frame).
Blur Filter
This is a small feature, but one that many users requested. You can now blur any object (Stencil, Template, Image or Icon). Once you have clicked on an object, just look for the Blur section of the Format Panel in the Right Sidebar.
Export Improvements
Offline Viewer – Export to HTML
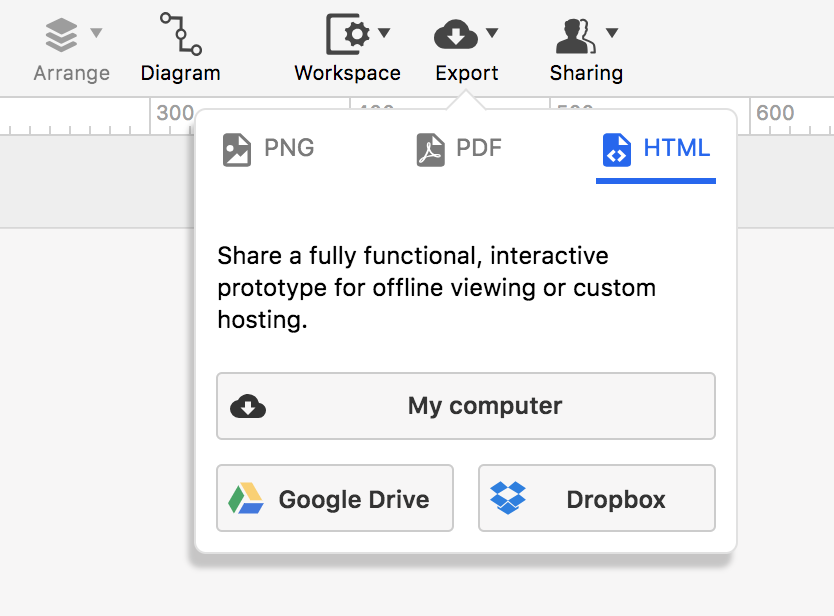
You’ve probably noticed a few subtle changes to our UI – including a new addition to the Top Toolbar. Export now has its own button and, with it, a great new option: The ability to export an offline version of the Viewer.
The Export to HTML option downloads a fully interactive prototype that can be viewed offline, hosted on more restrictive environments like behind-the-firewall intranet servers – or even disseminated through corporate document management solutions like Microsoft SharePoint.
The offline Viewer includes all your project’s Interactions and Comments, and it displays the project’s Top Toolbar, as well as the Pages and the Comments Panels.
This new Export to HTML option is especially welcome news for our Atlassian customers.
Although Export to PNG and PDF have long been standard features on our SaaS versions – including Moqups for Jira and Confluence Cloud – our Atlassian Server versions cannot export in these formats because of Atlassian’s technical and security constraints. Now, Export to HTML addresses that problem by giving both our Cloud and Server clients a new, flexible, and fully interactive Export option.
You can access Export to HTML from the…
- Top Toolbar by using the new Export button
- Moqups Main Menu by using the Projects > Export link
- Pages Panel by choosing the Export option from the right-click Context Menu
(Note: Users of Moqups for Jira and Confluence Server must use the Export button in the top toolbar.)
Once you have selected the Export to HTML option, you can choose to download to your computer, or upload it directly to Google Drive or Dropbox. Once the export is finished, you’ll be prompted to download a ZIP archive containing all the dependent files. To view your prototype, simply extract the archive and click on the HTML file to open it in your favorite browser.
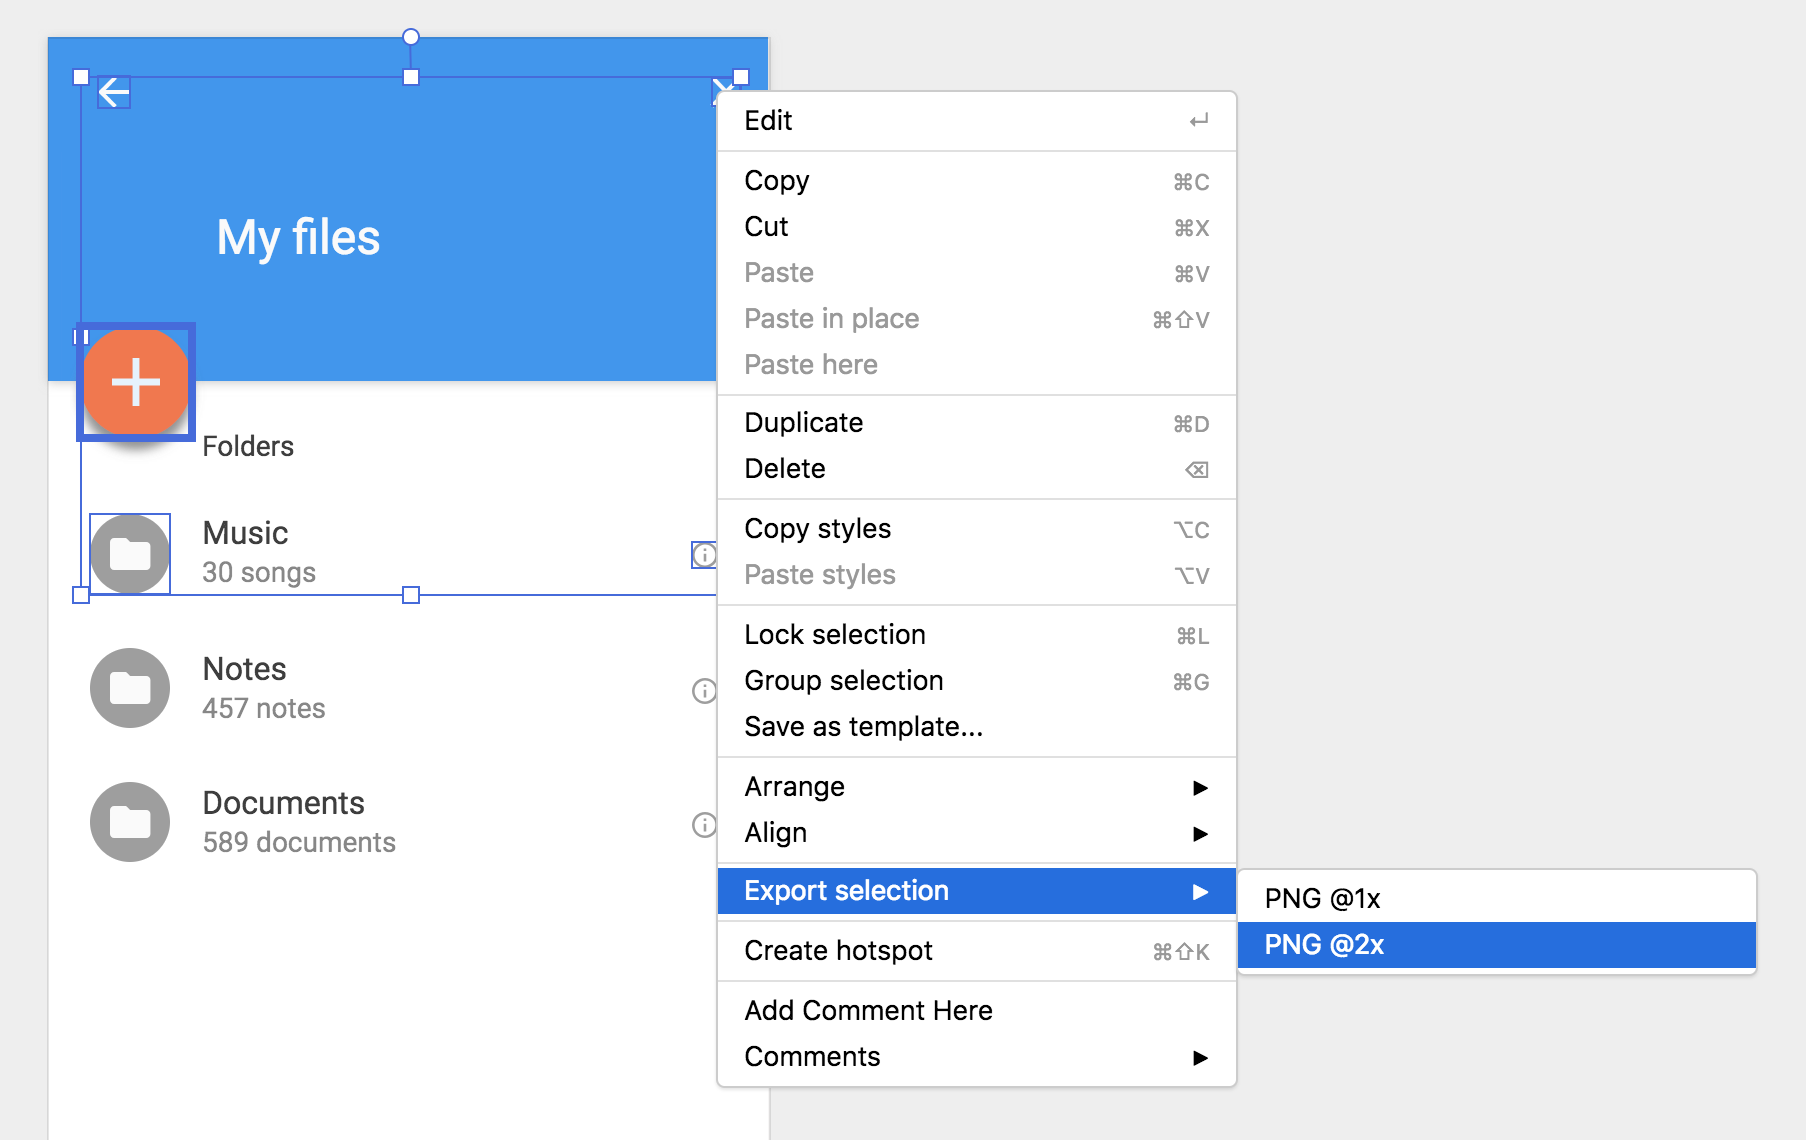
Export Objects
Individual object export is tremendously useful if you want to export only part of your page – for instance, downloading the differing states of a button all at once.
Plenty of our users have requested this feature so, as part of our Export redesign, we’ve added the ability to export single or multiple objects as PNGs.
Just right-click on your selected object(s) and choose Export selection from the Context Menu. You have two size options: 1x (normal) or 2x.
If you are building a website or app, the assets you create within Moqups can be included in your final product – extending their utility long after you’re finished with temporary prototypes.
These new Export options are just the beginning. We’ll introduce even more functionality in upcoming releases, but we also need your feedback! To help us make Export work better for you and your team, please send us your ideas and suggestions.
What’s Next?
There’s a major new feature that we’ve also been working on behind the scenes, and you may have already discovered it for yourself (hint: check what’s ‘New’ in the Stencils Library).
It’s a major step forward for Moqups, and we’ll have a dedicated post about it next week, so stay tuned!